Thinking Stucco? Here's the Deal for Gilbert Homeowners
So, you're considering new stucco for your home, or maybe you've got a repair project on your hands. That's great! Stucco is a fantastic, durable finish, especially here in Gilbert where it handles our intense sun and dry heat like a champ. But let's be real: it's not a weekend warrior project for just anyone. I've seen my share of homeowners try to save a buck and end up with a bigger, more expensive mess. So, let's break down what's realistic for you to do and when you absolutely need to call in the pros.
Before You Start: Planning & Prep
This is where you, the homeowner, can really shine and save some money, even if you're hiring out the main installation. Good planning prevents poor performance, as they say, and it's especially true with stucco.
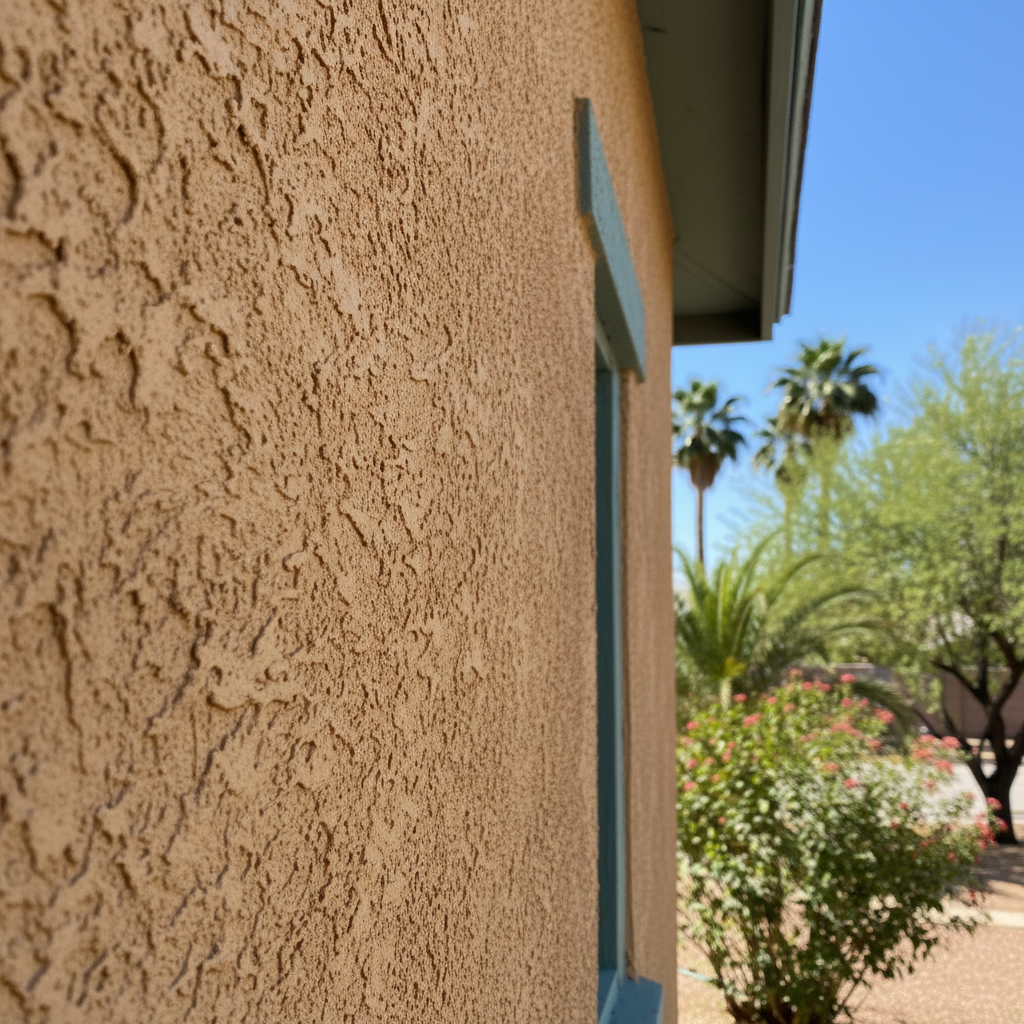
Research & Inspiration: What kind of finish do you want? Smooth? Sand? Dash? There are tons of options, and each has a different look and feel. Drive around Val Vista Lakes or any of the older neighborhoods here in Gilbert; you'll see all kinds of styles. Get some ideas, take pictures. This helps you communicate your vision clearly.
Budgeting: Get a realistic idea of costs. Materials aren't cheap, and labor for skilled stucco work isn't either. If you're doing a small patch, you might just need a bucket of pre-mixed stucco. For a whole wall, you're looking at sand, cement, lime, water, and colorants, plus lath, paper, and all the tools.
Permits: This is a big one. For any significant exterior change or new construction, you'll likely need a permit from the Town of Gilbert. Don't skip this. It protects you and ensures the work meets local codes. A good contractor will handle this, but if you're DIYing, it's on you.
Surface Prep (DIY Friendly): This is where you can roll up your sleeves. Removing old, loose stucco, cleaning the walls thoroughly, trimming back landscaping, moving outdoor furniture – these are all things you can do. Make sure the surface is clean, dry, and free of any grease or dirt. If you're doing a patch, undercut the edges of the existing stucco so your new material has something to key into.
The Installation Process: Where Pros Are Essential
Okay, here's the honest truth: applying stucco, especially a whole wall or house, is a skilled trade. It's not just slapping mud on a wall. There's a science to it, and a lot of technique. This is where I'd strongly recommend calling in a professional like us at Peak Stucco Solutions.
Lath and Paper: Before any stucco goes on, you need a weather-resistive barrier (like building paper) and then metal lath (the wire mesh). This creates a bond and helps prevent cracking. Getting this perfectly flat, plumb, and securely fastened is critical. If it's not right, your stucco will fail.
Scratch Coat: This is the first layer of stucco, applied directly to the lath. It's called a scratch coat because it's literally scratched with a special rake to create a rough surface for the next coat to adhere to. Thickness and consistency are key here.
Brown Coat: The second layer, sometimes called the leveling coat. This one smooths out the surface and brings it closer to the final desired thickness. Again, consistency and proper application are crucial for a durable, even finish.
Finish Coat: This is what everyone sees. This final layer is where the texture and color come in. This takes a lot of practice to get right – consistent texture, no tool marks, smooth transitions. This is where the difference between a pro job and a DIY attempt becomes glaringly obvious. If you're going for a smooth finish, any imperfections will stand out like a sore thumb.
Curing: Stucco doesn't just dry; it cures. This involves keeping it damp for several days, especially in our dry Gilbert climate. This allows the cement to properly hydrate and gain maximum strength. Skipping this step or doing it improperly can lead to weak, brittle stucco that cracks easily.
Now, if you're doing a tiny patch, say smaller than a dinner plate, and you're feeling adventurous, you might try a pre-mixed stucco product. Watch some good videos, follow the instructions to the letter, and be prepared for it not to perfectly match your existing texture or color. But for anything larger, or if you want it to look good and last, trust me, you want an experienced hand.
After the Stucco: Maintenance & What to Watch For
Once your new stucco is up and cured, the hard part's over, but a little ongoing care goes a long way in protecting your investment.
Keep it Clean: Periodically wash your stucco with a soft brush and mild detergent. Our dust storms here in Arizona can leave a film, and keeping it clean prevents dirt from embedding over time. Don't use a high-pressure washer too close, as it can damage the surface.
Inspect Regularly: Walk around your house every six months or so. Look for hairline cracks, especially around windows, doors, and where different materials meet. Small cracks can often be sealed with an elastomeric caulk designed for stucco. Larger cracks, or any signs of water intrusion (like dark streaks or bubbling paint), mean you need to call someone out immediately. Water behind stucco is a big problem.
Painting: If you decide to paint your stucco down the road, make sure you use a high-quality elastomeric paint specifically designed for stucco. It breathes better and stretches with the stucco, preventing new cracks from showing through the paint.
Stucco is a fantastic, long-lasting exterior finish when it's done right. Don't underestimate the skill involved in a proper installation. For anything beyond minor cosmetic repairs, save yourself the headache and call a professional. You'll be glad you did when your home looks great and stands up to our Arizona weather for decades to come.